Add a new Node Group
The Anjuna Nitro Runtime Toolset can only be installed into a Kubernetes cluster with Nodes that have been properly configured and with the AWS Nitro Enclaves option enabled.
In this section, you will add a new Node Group to your EKS Cluster that is capable of running AWS Nitro Enclaves with the Anjuna Runtime.
Launch Template
In order to add an Anjuna Runtime-capable Node Group to your EKS Cluster, you will first need to define a new Launch Template.
There are several factors to consider beforehand:
-
The amount of the Node’s memory to reserve for enclaves
-
The number of the Node’s
vCPUsto reserve for enclaves -
The hugepage size needed
-
The Instance Type and Size (e.g.,
c5.2xlarge)
For simplicity, assume that the applications are not large (less than 4GB in image size),
and you want to run at least 2 Enclaves in each Node.
-
8GBof memory should be enough -
4 vCPUsis enough -
2 Mibhugepage size is sufficient -
A
c5.2xlargeNode is ideal
You will use these values to set up the Launch Template.
User Data
From the anjuna-tools folder,
define the environment variables for the settings above
and some additional information relevant for the next steps:
$ export nitro_reserved_mem_mb=8192
$ export nitro_reserved_cpu=4
$ export nitro_huge_page_size=2Mi
$ export nitro_instance_type=c5.2xlarge

$ export nitro_allocator_gz_b64=$(wget https://raw.githubusercontent.com/aws/aws-nitro-enclaves-cli/v1.2.0/bootstrap/nitro-enclaves-allocator -O- | gzip | base64 -w0)
$ export nitro_allocator_service_b64=$(wget https://raw.githubusercontent.com/aws/aws-nitro-enclaves-cli/v1.2.0/bootstrap/nitro-enclaves-allocator.service -O- | sed "s|usr/bin|usr/local/sbin|" | base64 -w0)
$ export vars='$nitro_reserved_cpu $nitro_reserved_mem_mb $nitro_huge_page_size $nitro_allocator_gz_b64 $nitro_allocator_service_b64'
$ export user_data=$(envsubst "$vars" < terraform/enclave-node-userdata.sh.tpl | sed 's/\$\$/\$/')

$ export CLUSTER_ARN=$(kubectl config view --minify -o jsonpath='{.contexts[0].context.cluster}')
$ export CLUSTER_NAME=$(echo $CLUSTER_ARN | awk -F/ '{print $NF}')
$ export CLUSTER_REGION=$(echo $CLUSTER_ARN | awk -F: '{print $4}')
Then, run the commands below to prepare the Launch Template’s User Data in a MIME multi-part file:
|
For instructions to set up pre-existing clusters with RedHat Enterprise Linux, contact support@anjuna.io. |
-
Amazon Linux 2
-
Amazon Linux 2023
$ cat <<EOF > user_data.mime
MIME-Version: 1.0
Content-Type: multipart/mixed; boundary="==MYBOUNDARY=="

--==MYBOUNDARY==
Content-Type: text/x-shellscript; charset="us-ascii"

${user_data}

--==MYBOUNDARY==--
EOF
$ cat <<EOF > user_data.mime
MIME-Version: 1.0
Content-Type: multipart/mixed; boundary="==MYBOUNDARY=="
--==MYBOUNDARY==
Content-Type: text/x-shellscript; charset="us-ascii"
${user_data}
--==MYBOUNDARY==
Content-Type: text/yaml; charset="us-ascii"
apiVersion: node.eks.aws/v1alpha1
kind: NodeConfig
spec:
cluster:
name: ${CLUSTER_NAME}
apiServerEndpoint: $(aws eks describe-cluster --name $CLUSTER_NAME --query "cluster.endpoint" --output text --region $CLUSTER_REGION)
certificateAuthority: $(aws eks describe-cluster --name $CLUSTER_NAME --query "cluster.certificateAuthority.data" --output text --region $CLUSTER_REGION)
cidr: $(aws eks describe-cluster --name $CLUSTER_NAME --query "cluster.kubernetesNetworkConfig.serviceIpv4Cidr" --output text --region $CLUSTER_REGION)
ipFamily: $(aws eks describe-cluster --name $CLUSTER_NAME --query "cluster.kubernetesNetworkConfig.ipFamily" --output text --region $CLUSTER_REGION)
--==MYBOUNDARY==--
EOF|
Note that Amazon Linux 2023 introduced the |
Launch Template Config
Run the command below to prepare the Launch Template Config JSON file:
$ cat <<EOF > launch-template-config.json
{
    "InstanceType": "c5.2xlarge",
    "EnclaveOptions": {"Enabled": true},
    "UserData": "$(cat user_data.mime | base64 -w0)",
    "MetadataOptions": {
        "HttpEndpoint": "enabled",
        "HttpPutResponseHopLimit": 2,
        "HttpTokens": "optional"
    }
}
EOF
|
Create The Launch Template
Run the command below to create the Launch Template. Make sure to create it in the same region as your EKS cluster.
-
Amazon Linux 2
-
Amazon Linux 2023
$ aws ec2 create-launch-template \
    --launch-template-name anjuna-eks-al2 \
    --launch-template-data file://launch-template-config.json \
    --region "$CLUSTER_REGION"
$ aws ec2 create-launch-template \
--launch-template-name anjuna-eks-al2023 \
--launch-template-data file://launch-template-config.json \
--region "$CLUSTER_REGION"Node Group
With a Launch Template that supports both AWS Nitro and the Anjuna Runtime, you should now be able to configure a new Node Group via the AWS Web Console:
-
Access your EKS cluster page:
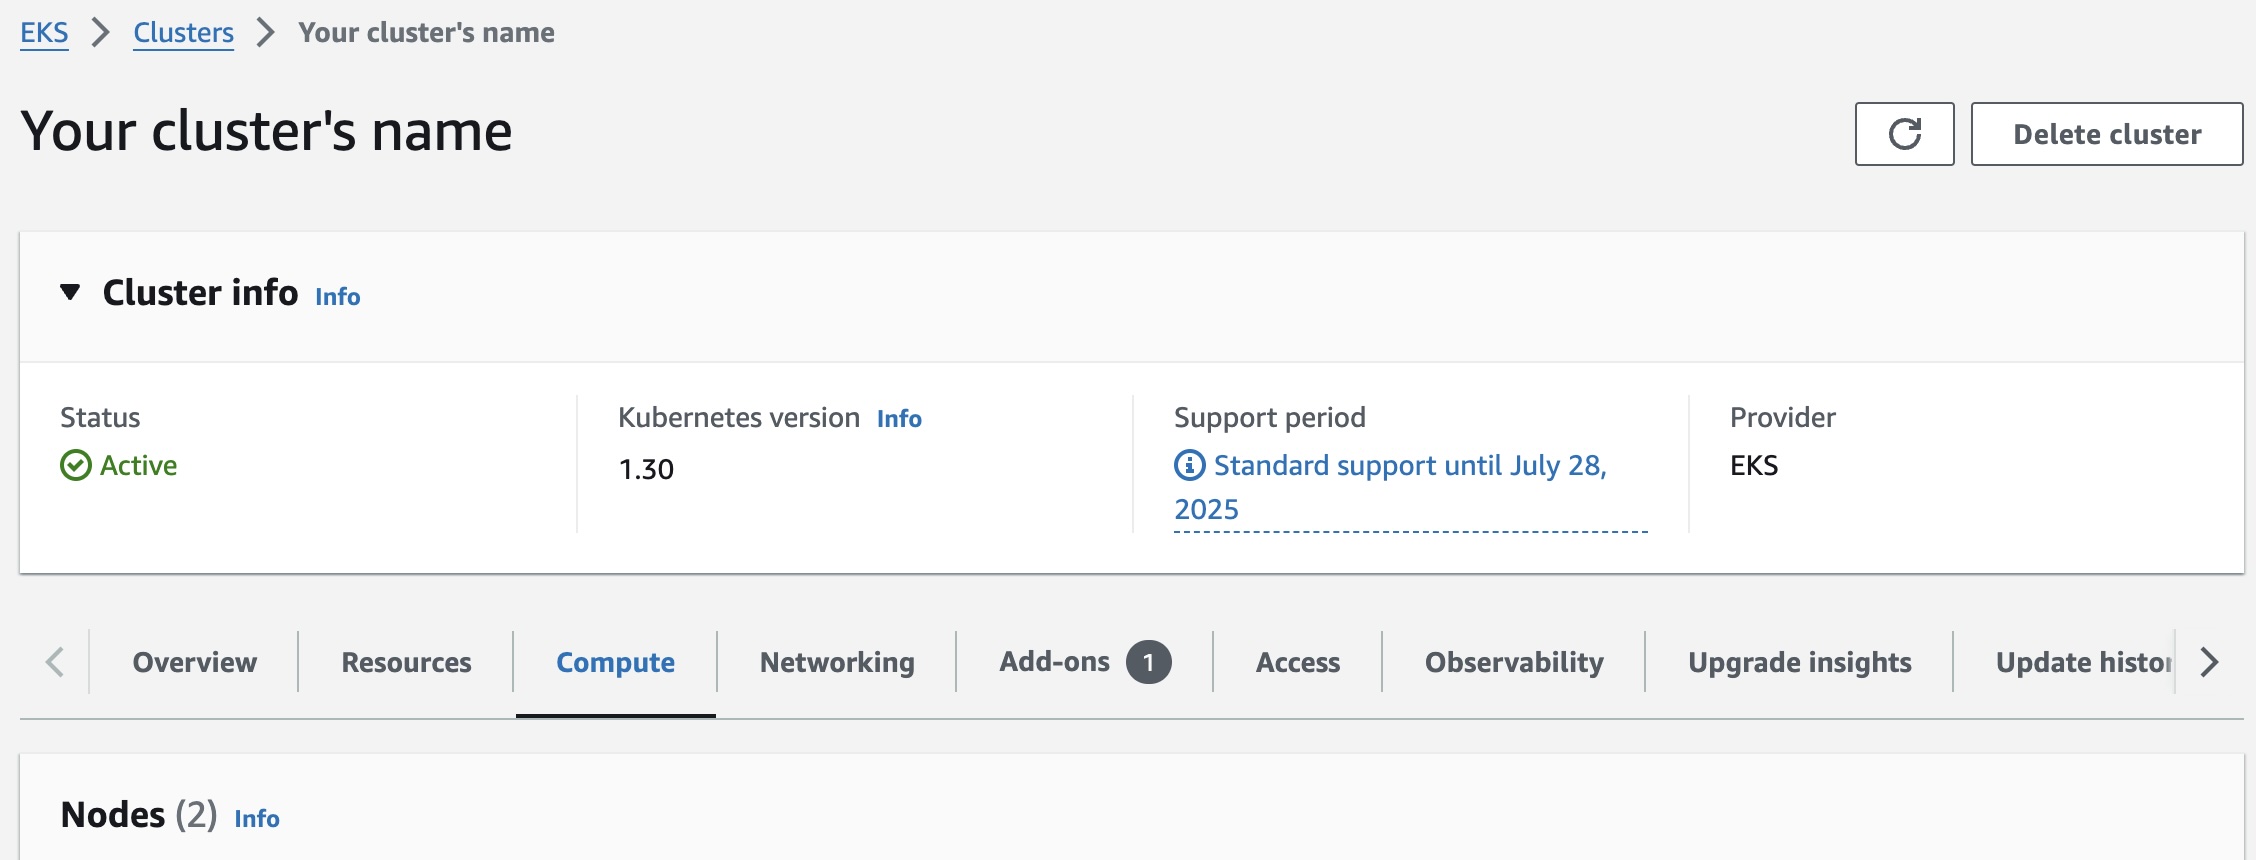
-
On the
Computetab, find theNode Groupspanel, and click on theAdd node groupbutton -
On the
Node group configurationpanel:-
Assign a unique
Nameto the Node group -
Select the IAM role that will be used by the Nodes
-
-
On the
Launch templatepanel, select the option to use a launch template, and then select the Anjuna Runtime launch template that you created above: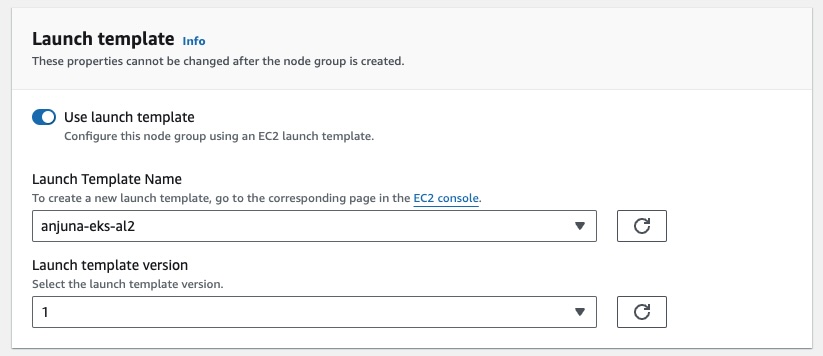
-
On the
Kubernetes labelspanel:-
Click on the
Add labelbutton -
Configure the new label
Keywithanjuna-nitro-device-manager -
Configure the new label
Valuewithenabled:
The
anjuna-nitro-device-managerlabel will be used by the Helm Chart on the next page to install the Anjuna Device Manager on these Nodes, providing access to AWS Nitro Enclave devices.
-
-
Move to the next page
-
Select
AL2orAL2023as the AMI type, depending on which launch template you created -
Define the scaling, and update to the configuration that best fits your needs, and move to the next page
-
Select the best subnets to place the Node Group, and move to the next page
-
Review the Node Group configuration, and click on the
Createbutton
Notice that because of the Launch Template configuration,
no EC2 Key Pair will be assigned to the Node.
If you want to configure a Key Pair,
edit the launch-template-config.json file,
and add a new JSON field called KeyName with the name of the Key Pair that you want to use.
|
Now, wait for the Node Group to be up and running.
Once the Node Group is up and running, you should be able to use kubectl to check
that it has been correctly configured:
$ kubectl describe nodes -l anjuna-nitro-device-manager=enabled | grep -m1 "hugepages-2Mi:"This command should produce the following output:
hugepages-2Mi: 8GiThe output, hugepages-2Mi: 8Gi, confirms that the Nodes labeled with
anjuna-nitro-device-manager=enabled have been correctly configured
with 8Gi of 2Mi hugepages as determined above.