Setting up an AWS KMS Key in AWS KMS
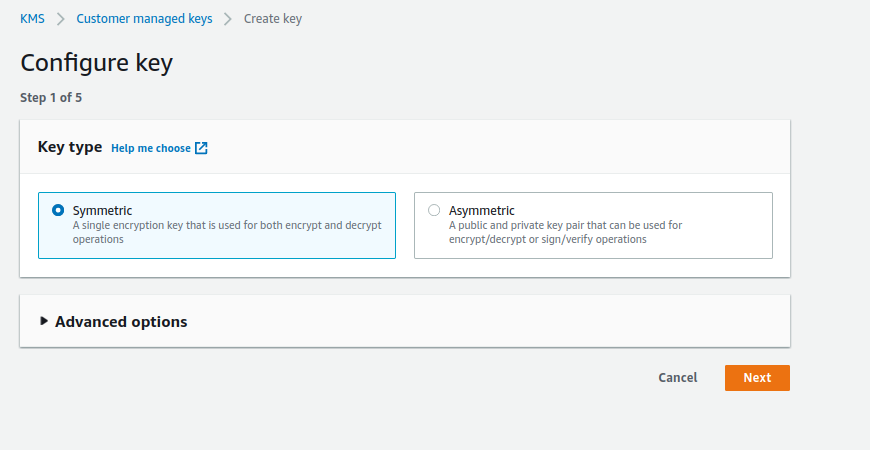
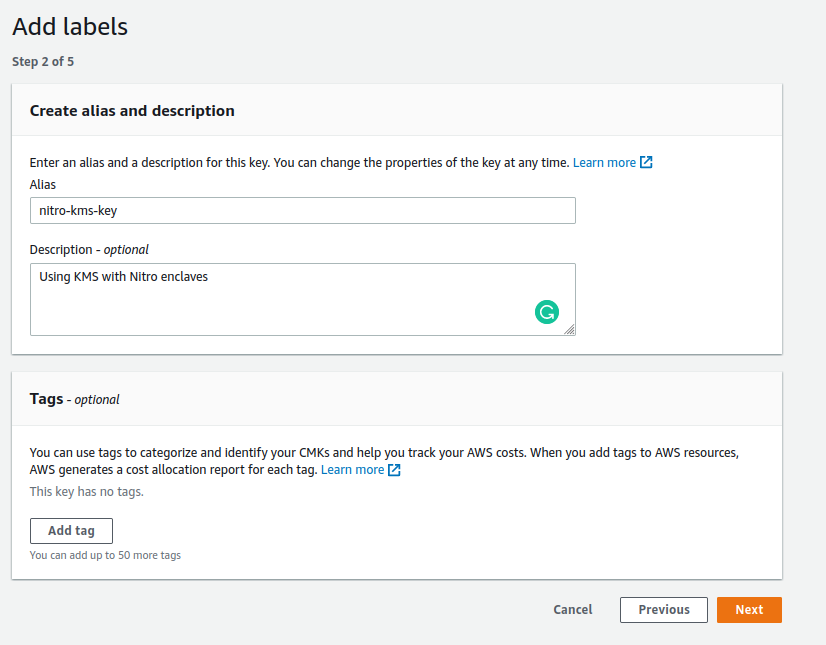
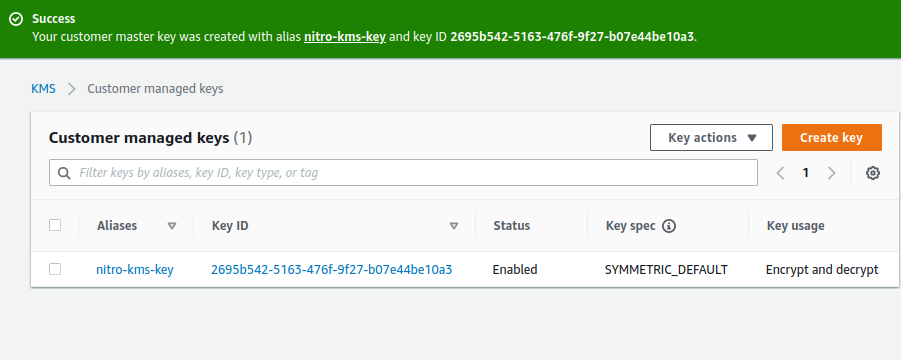
In this section, you will create an AWS KMS key in AWS KMS. You must have an AWS account that has permission to create and manage AWS KMS key objects.
Log into the AWS Console
Navigate to the AWS Console for KMS and select the region you want to use for creating a new AWS KMS key.
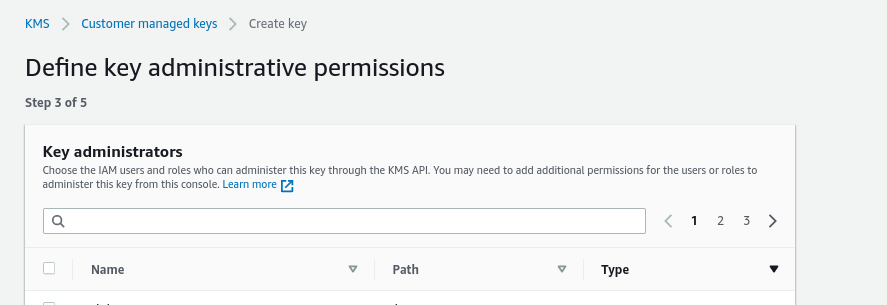
Pick an administrator to manage the AWS KMS key object:
Select your own account so that you can manage the key (more specifically, update the policy attached to that key).

Skip the screen that grants permissions to access the key:
The final permissions will be set up at a later time.

Next, remove the default key policy and replace it with the following.
In this example, kms:Encrypt is granted to your IAM user, the administrator of the key.
This will give you the ability to encrypt data using this AWS KMS key.
This is for demonstration purposes only;
for production use cases, kms:Encrypt and kms:Decrypt permissions are usually restricted to specific IAM roles.
The policy should look like this, granting permission only to a specific IAM User.
<ACCOUNT> and <USER> should be replaced with your own configuration:
{
  "Id": "key-consolepolicy-3",
  "Version": "2012-10-17",
  "Statement": [
    {
      "Sid": "Allow access for Key Administrators",
      "Effect": "Allow",
      "Principal": {
        "AWS": "arn:aws:iam::<ACCOUNT>:user/<USER>"
      },
      "Action": [
        "kms:CancelKeyDeletion",
        "kms:Create*",
        "kms:Delete*",
        "kms:Describe*",
        "kms:Disable*",
        "kms:Enable*",
        "kms:Encrypt",
        "kms:Get*",
        "kms:List*",
        "kms:Put*",
        "kms:Revoke*",
        "kms:ScheduleKeyDeletion",
        "kms:TagResource",
        "kms:UntagResource",
        "kms:Update*"
      ],
      "Resource": "*"
    },
    {
      "Sid": "Allow anyone in the AWS account access to basic meta-data about the key",
      "Effect": "Allow",
      "Principal": {
          "AWS": "arn:aws:iam::<ACCOUNT>:root"
      },
      "Action": [
          "kms:Describe*",
          "kms:List*",
          "kms:Get*"
      ],
      "Resource": "*"
    }
  ]
}
This key policy does not
allow the use of IAM policies to manage access to the KMS key,
because the AWS account root (arn:aws:iam::<ACCOUNT>:root) does not allow the * Action.
If you allow the use of IAM policies, note that any IAM administrator in the AWS account could bypass key-level permissions,
including the RecipientAttestation Condition used for AWS Nitro Enclaves.


